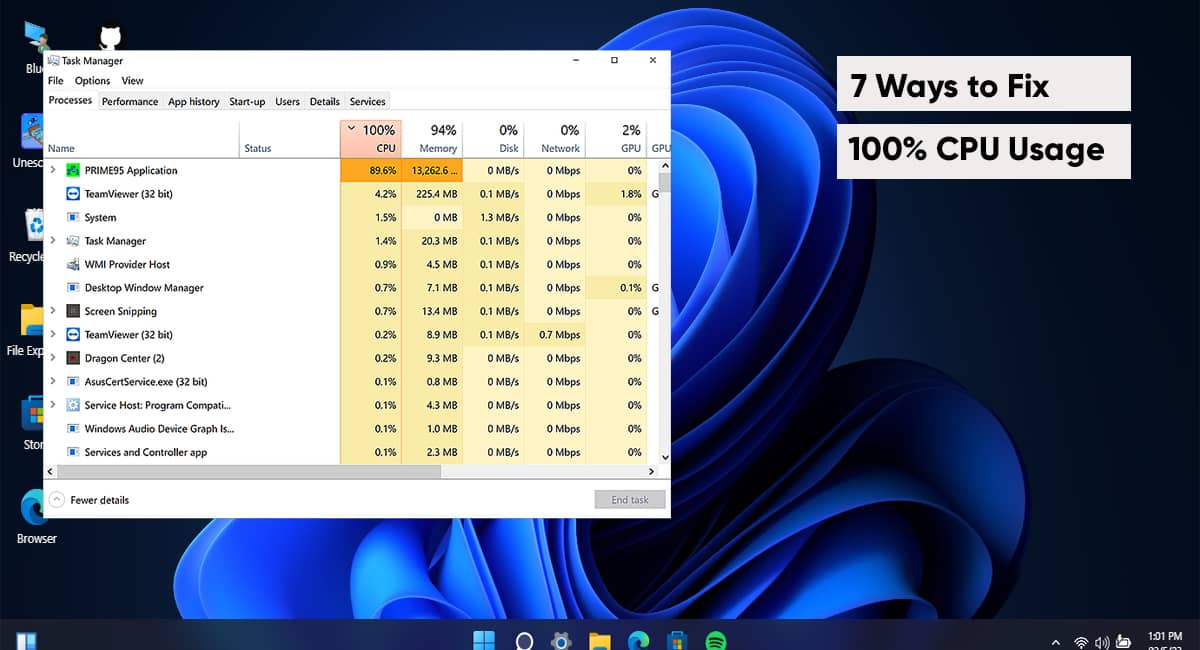
High CPU usage in the Windows 11 system can be frustrating. It hinders your system’s performance and can cause interruptions in your daily tasks. High CPU usage slows response times and impacts the overall user experience. In this article, we will look at 7 proven methods to fix high CPU usage in Windows 11.
1. Close Unnecessary Applications
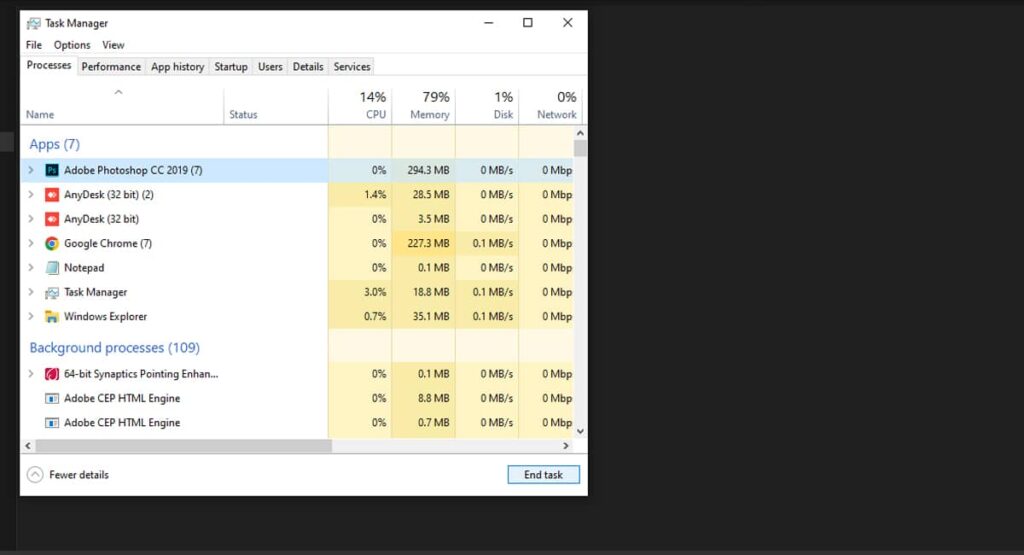
First and foremost, close the applications you do not need to use. Running too many apps can prevent the system from responding slowly. To do that, open the Task Manager, select the program you want to close, and select ‘End Task.’
2. Restart Your Computer
Restarting your computer can also fix high CPU usage in Windows 11. If closing the programs doesn’t restore your system to normal function, you can restart the machine and see if it works fine.
3. Install the Latest Windows 11 Updates
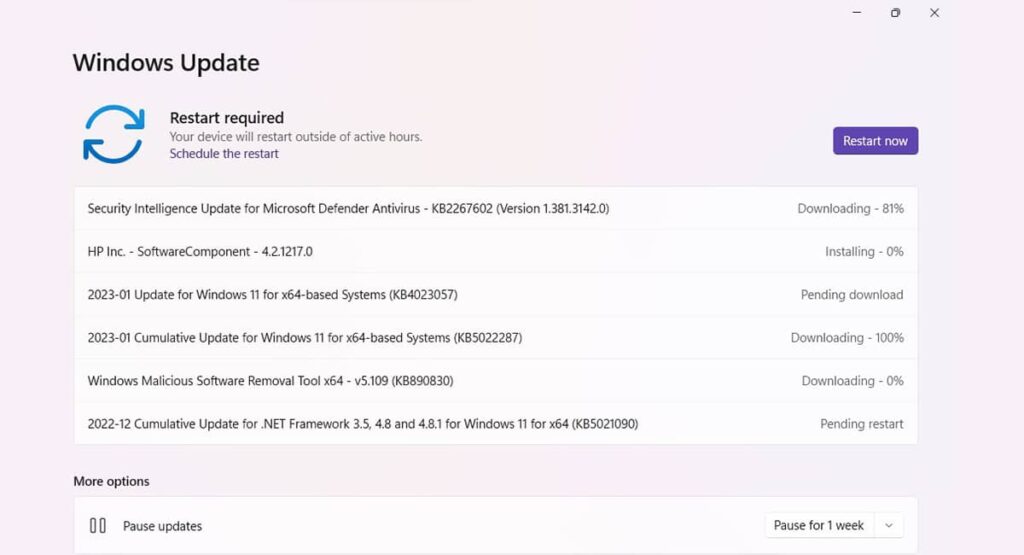
Updating your system to the latest available update is advisable. In the case of recurring high CPU usage, updating the newest supportive software version can fix the issue. Microsoft services that play pivotal roles in keeping your system healthy and allowing it to function smoothly may be hampered by malware or other system configurations. So, if you update and install the latest version, it can solve the issue.
4. Scan for Malware
Whenever we visit an unsafe website, it downloads harmful malware into our system. This malware can cause high CPU usage in Windows 11. So, it is necessary to clean them up using the Windows Malicious Software Removal Tool. You can also opt for other third-party applications like Malwarebytes, Norton 360, Bitdefender, etc.
5. Disable Background Applications
Unlike Windows 10, Windows 11 allows limiting the background operations of applications. Although it may seem convenient for some apps to run in the background, this can lead to high CPU usage in Windows 11. Therefore, you must turn off these applications from running in the background to minimize CPU usage.
Here’s how to do it:
Step 1: Open Settings
Step 2: Go to ‘Apps’ > ‘Apps & Features

Step 3: Open ‘Advanced Options‘ by clicking on the three-dot menu.
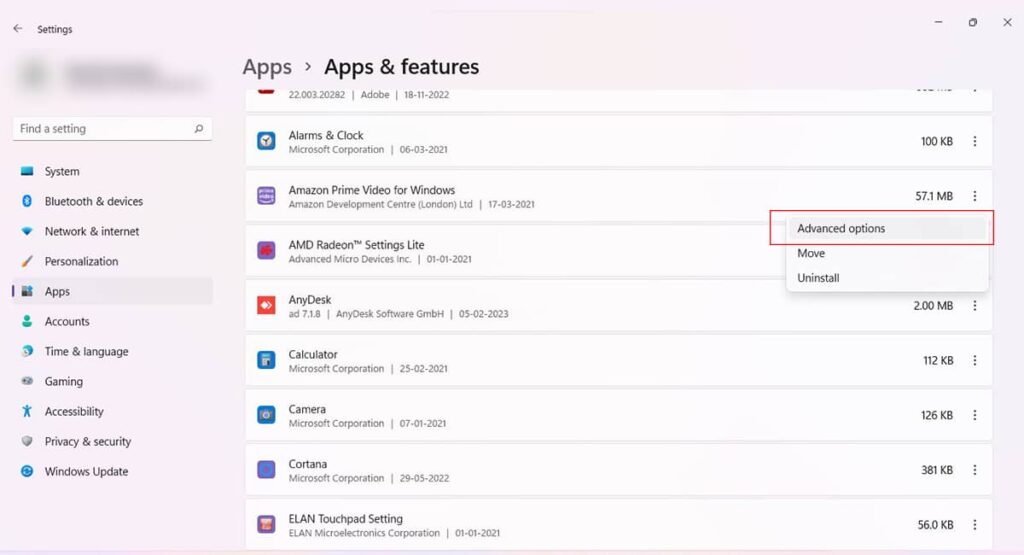
Step 4: From the ‘Background Apps Permission‘ section, choose ‘Never.’

5. Disable Superfetch
Superfetch is a Windows service that pre-loads the data of the most used app. This way, whenever you try to open an application, it speeds up the process, providing a smooth user experience. However, if your PC’s configuration could be better and you have several apps in your most-used apps category, it can cause higher CPU usage. Therefore, disabling it will significantly reduce high CPU usage.
Here’s how to do it:
Step 1: Press Win + R to open the Run dialog box.
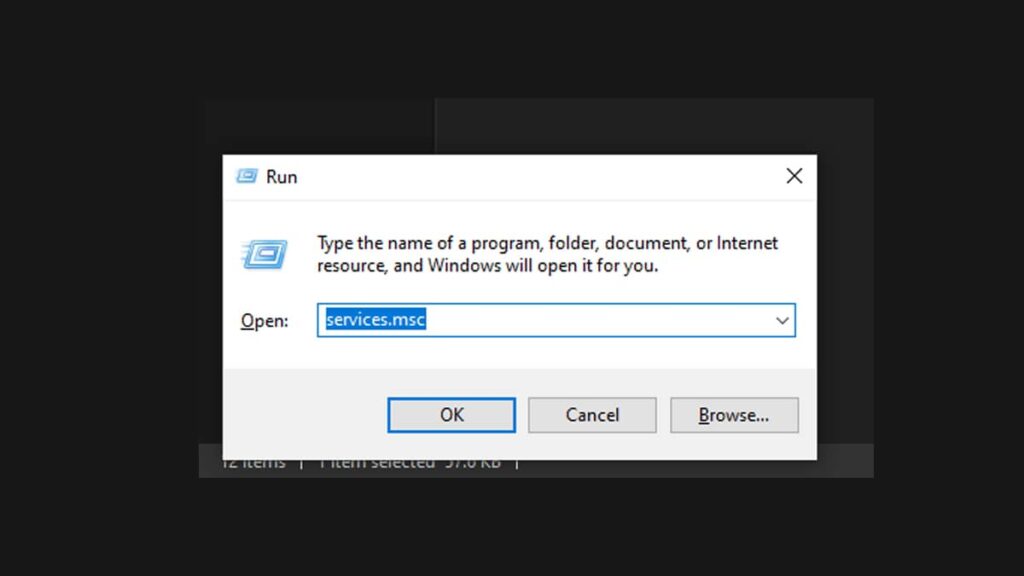
Step 2: Enter ‘services.msc‘ and find Superfetch from the Windows Services.
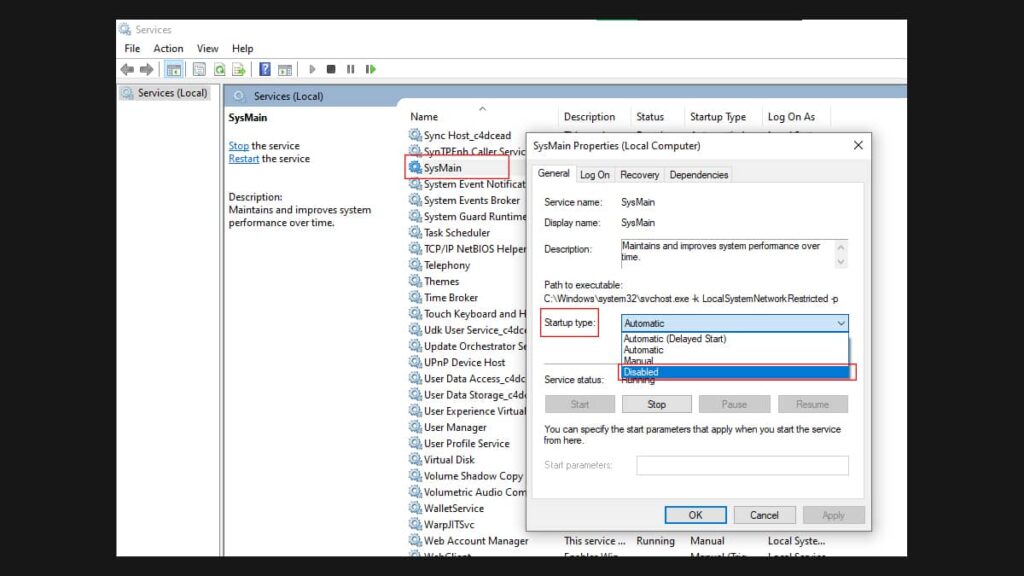
Step 3: Right-click on it and select ‘Disabled‘ in the ‘Startup type‘ drop-down.
7. Check Your Antivirus Program
If you have any antivirus system other than Windows Defender, check if it has any issues. Most of the time, antivirus programs run in the background and cause a high percentage of CPU usage. So, it is better to replace it with another one. Also, make sure not to disable windows defender when using another anti-virus. That way, there isn’t any conflict between applications.
8. Disabling Unnecessary Startup Programs
When you install new programs in your system, some get added to your startup items. These programs initiate when your system boots up. Removing them from the startup programs would reduce the high CPU usage considerably.
Here’s how to do it:
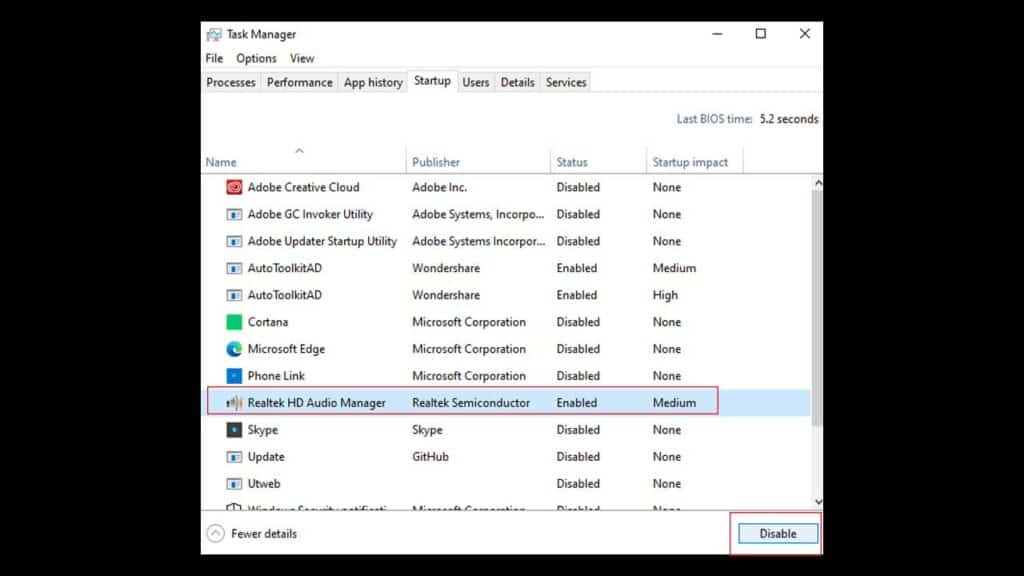
Step 1: Open Task manager
Step 2: Head over to the Startup tab
Step 3: Select the unnecessary item and click Disable.
9. Reviewing and Un-installing Unnecessary Applications
There are many instances where we keep the software installed in our system even if we don’t need them. This software occupies space in our hard drives but contributes to high CPU usage in the windows system. We suggest you review them from time to time and uninstall them if not required.
Here’s how to do it:
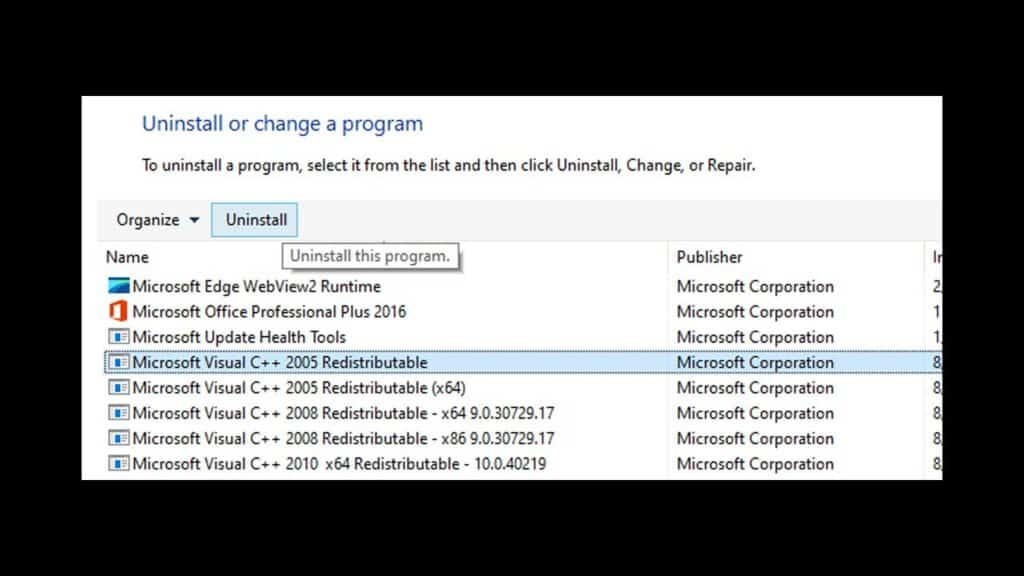
Step 1: Open Control Panel>Programs & features
Step 2: Select the program and choose Uninstall.
10. Clearing Your Computer’s Cache and Temporary Files
Many temp files stored in our system degrade system performance by increasing CPU usage. You should clear the cache and temp files from your system to keep your system healthy.
Step 1: Press Win + R and tyep %temp%

Step 2: Click Ctrl + A to select all items
Step 3: Hit delete.
11. Check For Application Updates.
Always check for a missing driver from your manufactures website or program. There may be a case that a necessary program or update is missing from your system, which is causing high CPU usage.
The abovementioned steps can resolve the high CPU usage issue in Windows 11. You will also feel an improvement in the system’s performance. Keeping your system updated and protected from malware is vital to ensure its smooth functioning if the issue persists.